Export from Revit
Export a 3D view as FBX, keep the parts visitors should see, and upload it as it is.
Revit exports FBX from a 3D view. vr-tecture converts the FBX in your browser, so you upload it as it is.
Prepare a 3D view for export
- Duplicate your 3D view and name it, for example, “vr-tecture export”.
- Use a section box to keep only the part visitors walk through: one unit, one floor or one room.
- In Visibility/Graphics, hide categories visitors should not see: site, topography, grids, levels, annotation, furniture you do not want, and the ceiling of floors above.
- Set the view’s detail level to Medium. Fine adds detail that makes the file heavy without being visible in a walk-through.
Keep the ceiling of the rooms visitors walk in. A room without a ceiling looks unfinished from inside.
Export FBX
- With the export view open, choose File › Export › FBX.
- Save the .fbx file.
- In the tour editor, select Upload GLB on the style and choose the .fbx.
- In Check the model size, check that the size is right. Revit FBX files are usually read correctly; if the room is 100 or 1000 times too big or too small, pick another unit.
- Select Use this model, wait for ✓ Model uploaded and select Save tour.
Materials from Revit
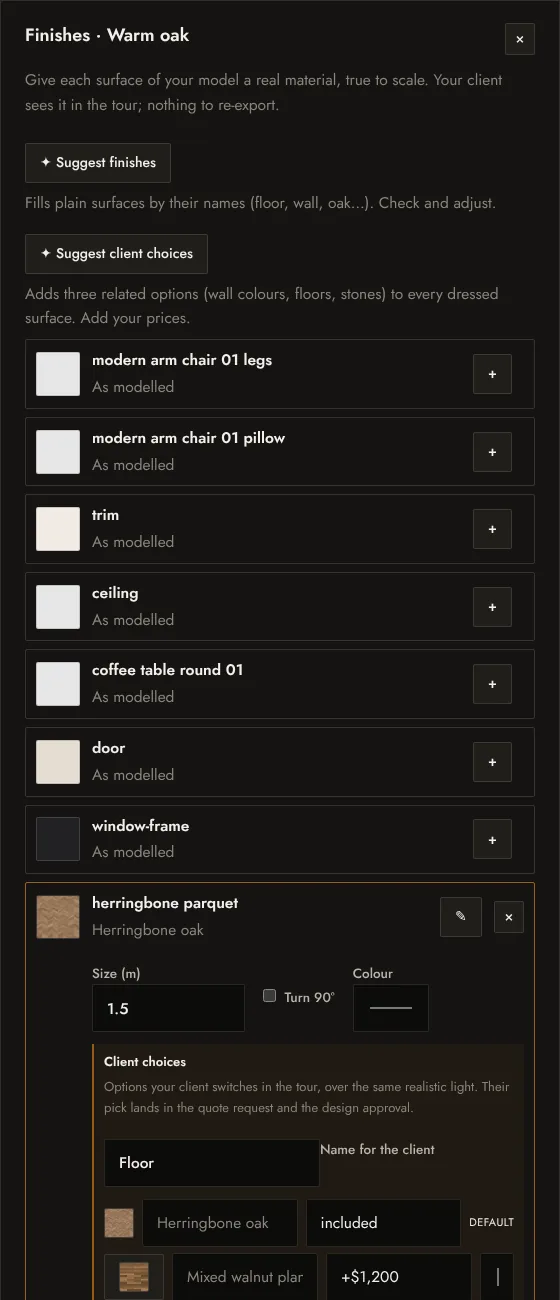
Revit FBX files often carry only plain colours, because Revit’s appearance assets do not travel well. That is expected. Give floors, walls and worktops real materials in vr-tecture instead: open Finishes on the style and use Suggest finishes, which fills plain surfaces by their names (floor, wall, oak…). See Dress surfaces with real materials.
Or export IFC
Revit’s IFC export works too and keeps every element named by type, which makes finishes quicker. See Upload a BIM model (IFC).
Revit through other tools
If you already send Revit models to Twinmotion, Enscape or 3ds Max, you can export a .glb or .fbx from there instead; materials usually come through better. See Export from Blender, 3ds Max and other tools.