Start point, stops and the guided tour
Choose where visitors arrive, add named stops, and let “Play tour” walk your client through them.
Where a visitor arrives sets the first impression. Stops let you point out the views that sell the design, and Play tour walks your client through them on its own.
Designer buttons
Open your tour while you are signed in to your studio (Tours › Open). Besides the buttons your client sees, you get Start here, Add stop, Add info point and Clear pins in this space. Clients never see these.
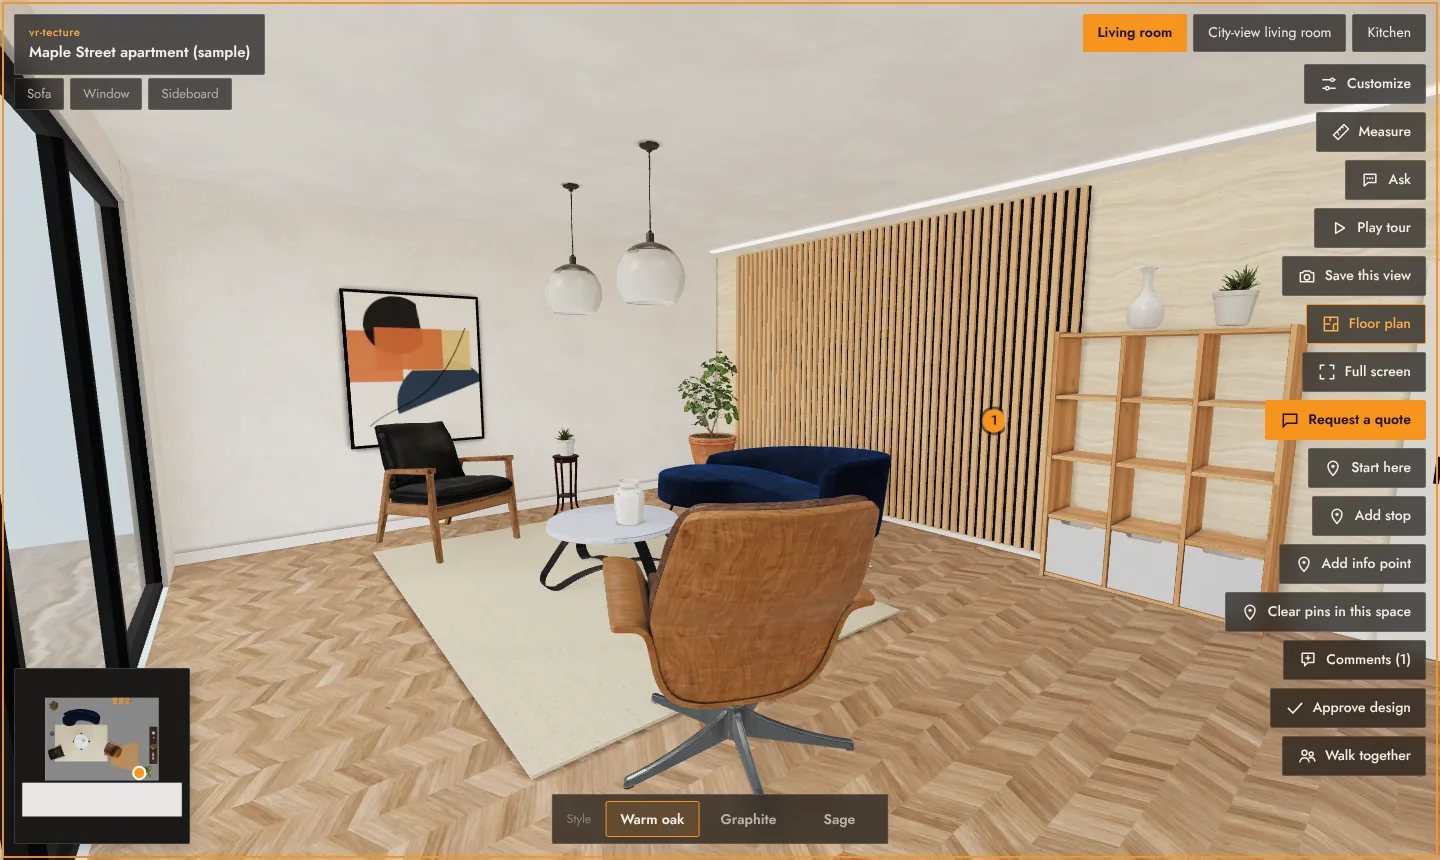
Set the start point
- Go to the space you want to set. Each space has its own start point.
- Walk to the spot and turn to the view your client should see first. A doorway looking into the room usually works best.
- Select Start here. The tour shows Saved.
Your client now arrives at that spot and view whenever they open the space. Repeat for every space.
Add stops
- Walk to a view worth showing: the island from the dining table, the view from the bed.
- Select Add stop, type a short name (up to 40 characters, for example “Island and pendants”) and confirm.
- Add as many stops as you like. They are kept in the order you add them.
Stops appear as buttons in the tour, so your client can jump to each view with one tap.
To start again in a space, select Clear pins in this space. It removes that space’s start point and all its stops; info points stay. Without a start point, visitors arrive at the default spot of the model.
Play tour
Play tour glides from stop to stop, about five seconds each, and shows each stop’s name; it loops until stopped. In a space without stops it turns slowly on the spot. Any click, tap or key press stops it, so a client can take over at any moment.
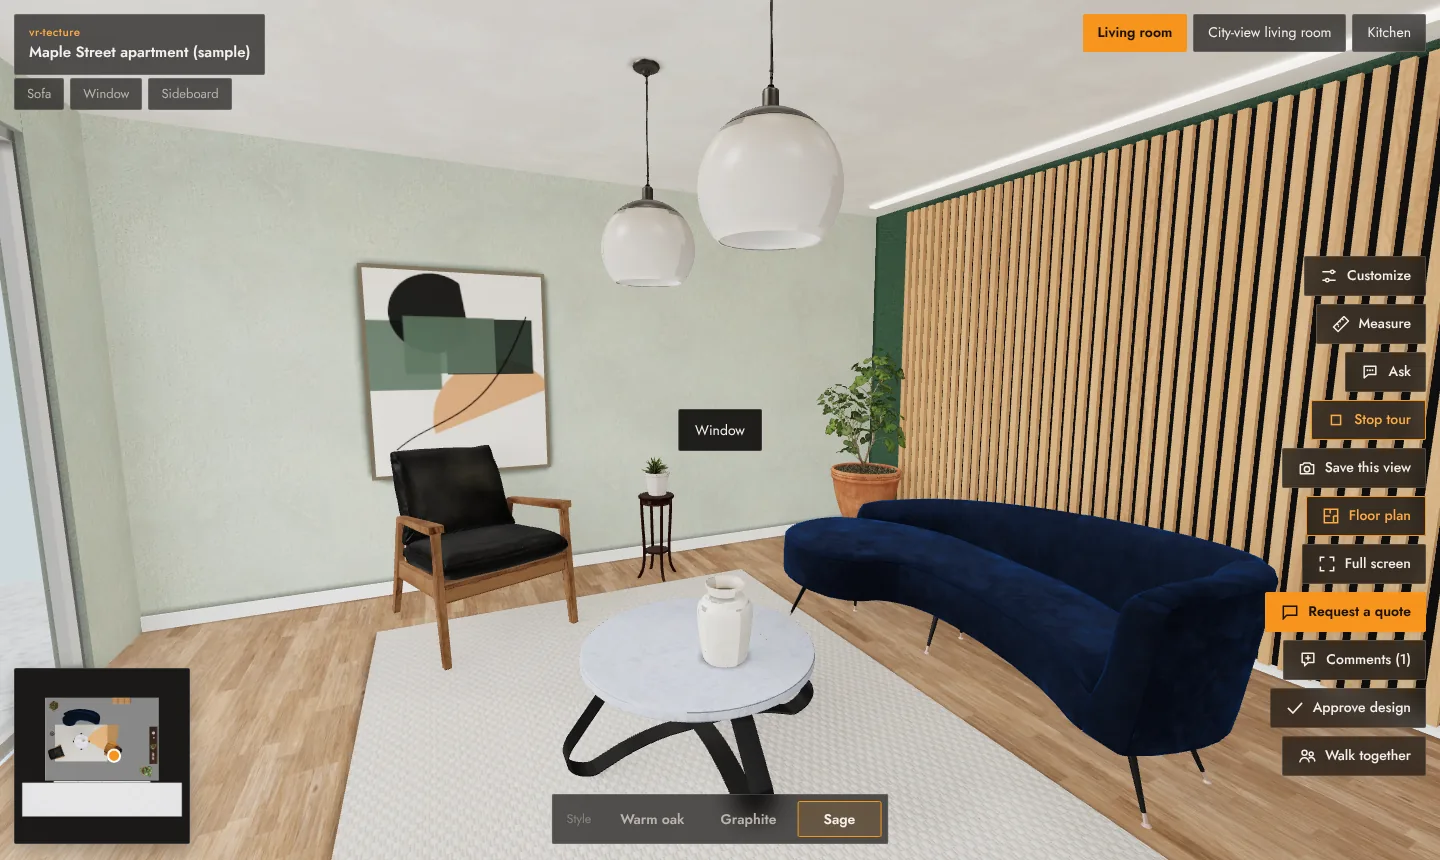
Before a meeting, add three or four stops per room and use Play tour as your opening. Then hand over control. For a remote meeting, see Walk a tour together.